Photo elements in CGI’s
For many, but not all, CGI’s there is a limit to the amount of detail that can be built into 3D textures and geometry due to time and budgetary constraints and therefore, 3D detail that is very close to the camera needs an alternative solution to uphold the photorealism and stop it spoiling the overall image.
What we did:
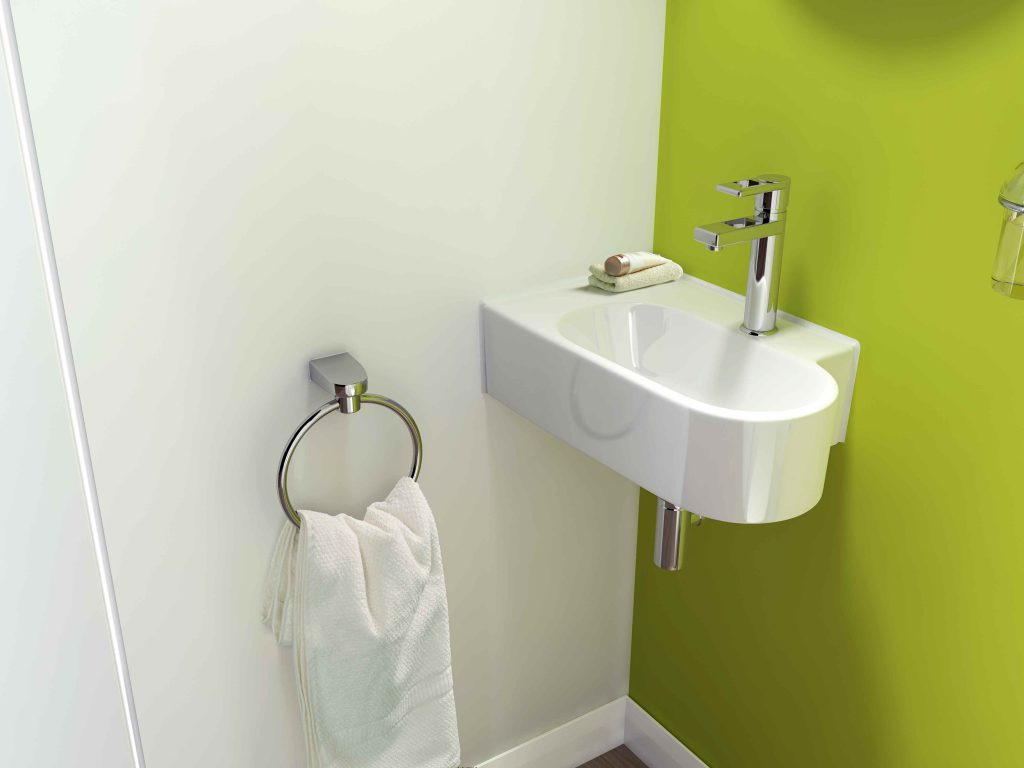
In bathroom images, there are many times that products and soft fabrics are in close proximity to the camera due to the small nature of the rooms and the extra modelling and texture time and development of the 3D fabrics would not be included in the costings for the project. In those instances we have to try and feature the real-world versions of these objects into the 3D renders in a way that is seamless and unnoticeable.
The only way of doing this is to create a real-life lighting and photography stage and photograph the objects in such a way that integration into the 3D render is made easier.
Issues we overcame:
In order to seamlessly integrate a real-world photo of a product into a 3D visualisation, there are 2 major obstacles to overcome with each object. The lighting on the photo has to perfectly match the brightness and direction of the light within the render and the camera angle has to match the 3D camera. Without these 2 critical elements, matching the composite will never be successful.
Part of our office has now been redeveloped into a small photo studio complete with a full set of lights and a high-resolution camera.
Each time we need a real-world product photo we carefully take measurements of the 3D scene and take note of the position and strength of the lights within the space. The real-world object or cluster of objects is staged and positioned exactly as we want them to look and the camera is positioned at the correct height and distance from the objects to match the 3D version.
Each light is positioned to replicate the 3D versions and the brightness of each light is controlled to replicate the distance from the source the objects will be in the 3D scene.
A selection of photos are taken after a comparison with this setup and a printout of the 3D camera view. If everything is acceptable the best photo is chosen and post-production work can start.
The end result:
The object that was photographed is then isolated from the rest of the photo and overlaid onto the render. The colour balance, contrast, tone and brightness of the photographed object are then controlled until it is a seamless fit over the 3D render creating a final composite. If this process is done correctly then the viewer will never know that the photographed objects are not part of the overall 3D render.
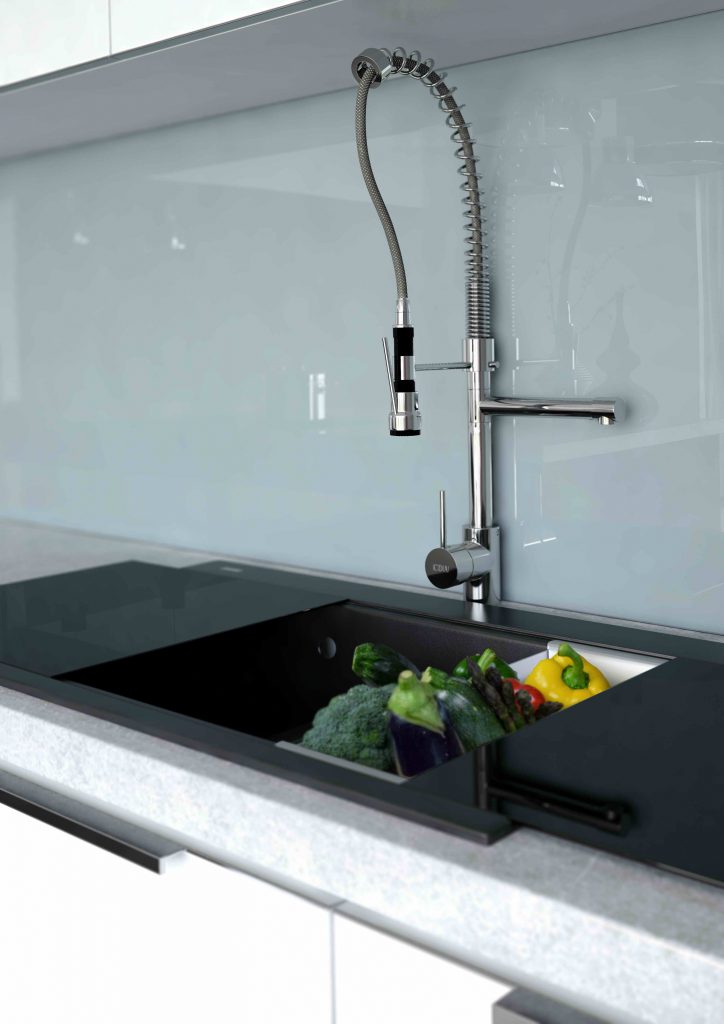
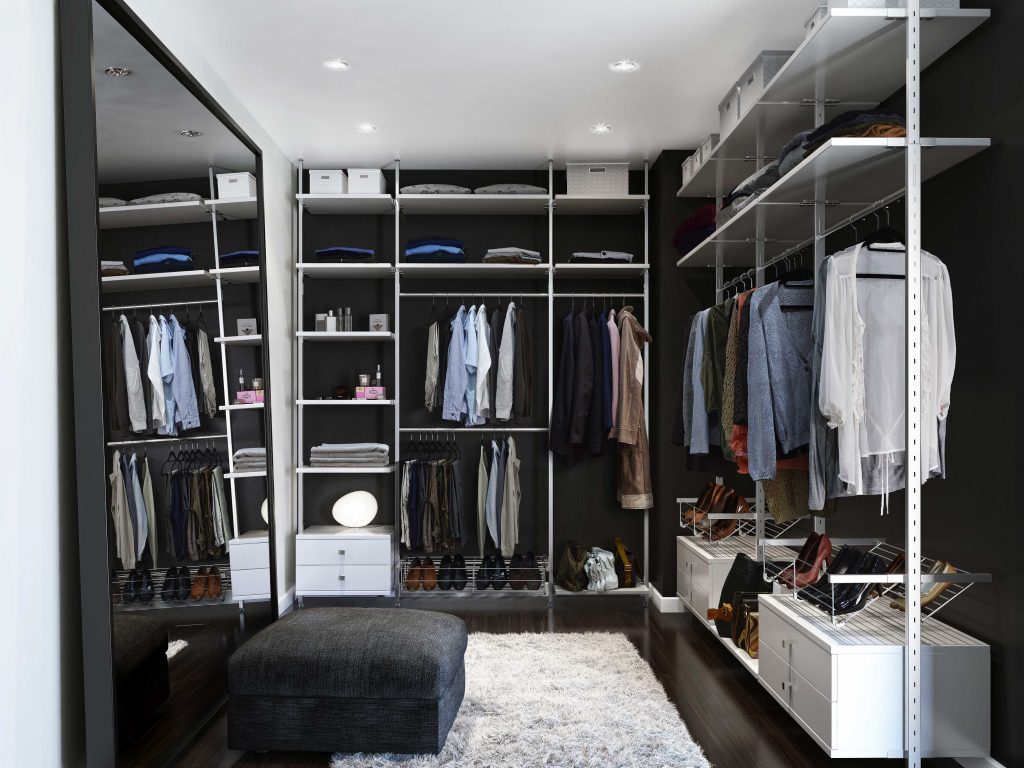
We have been very successful with this production process for towels, throws, shoes/handbags, clothes and food objects.
Client
Project Date
Tags
Share


